Kitchen Splashback Tiles: What Works and What It Costs
A splashback is one of the smallest areas in your kitchen, but it does a lot of work: it protects the wall from heat, steam and splatter, and it's often the first thing people notice. Tiles remain the most popular choice in New Zealand kitchens — here's why, what they cost, and how to get a result that lasts.
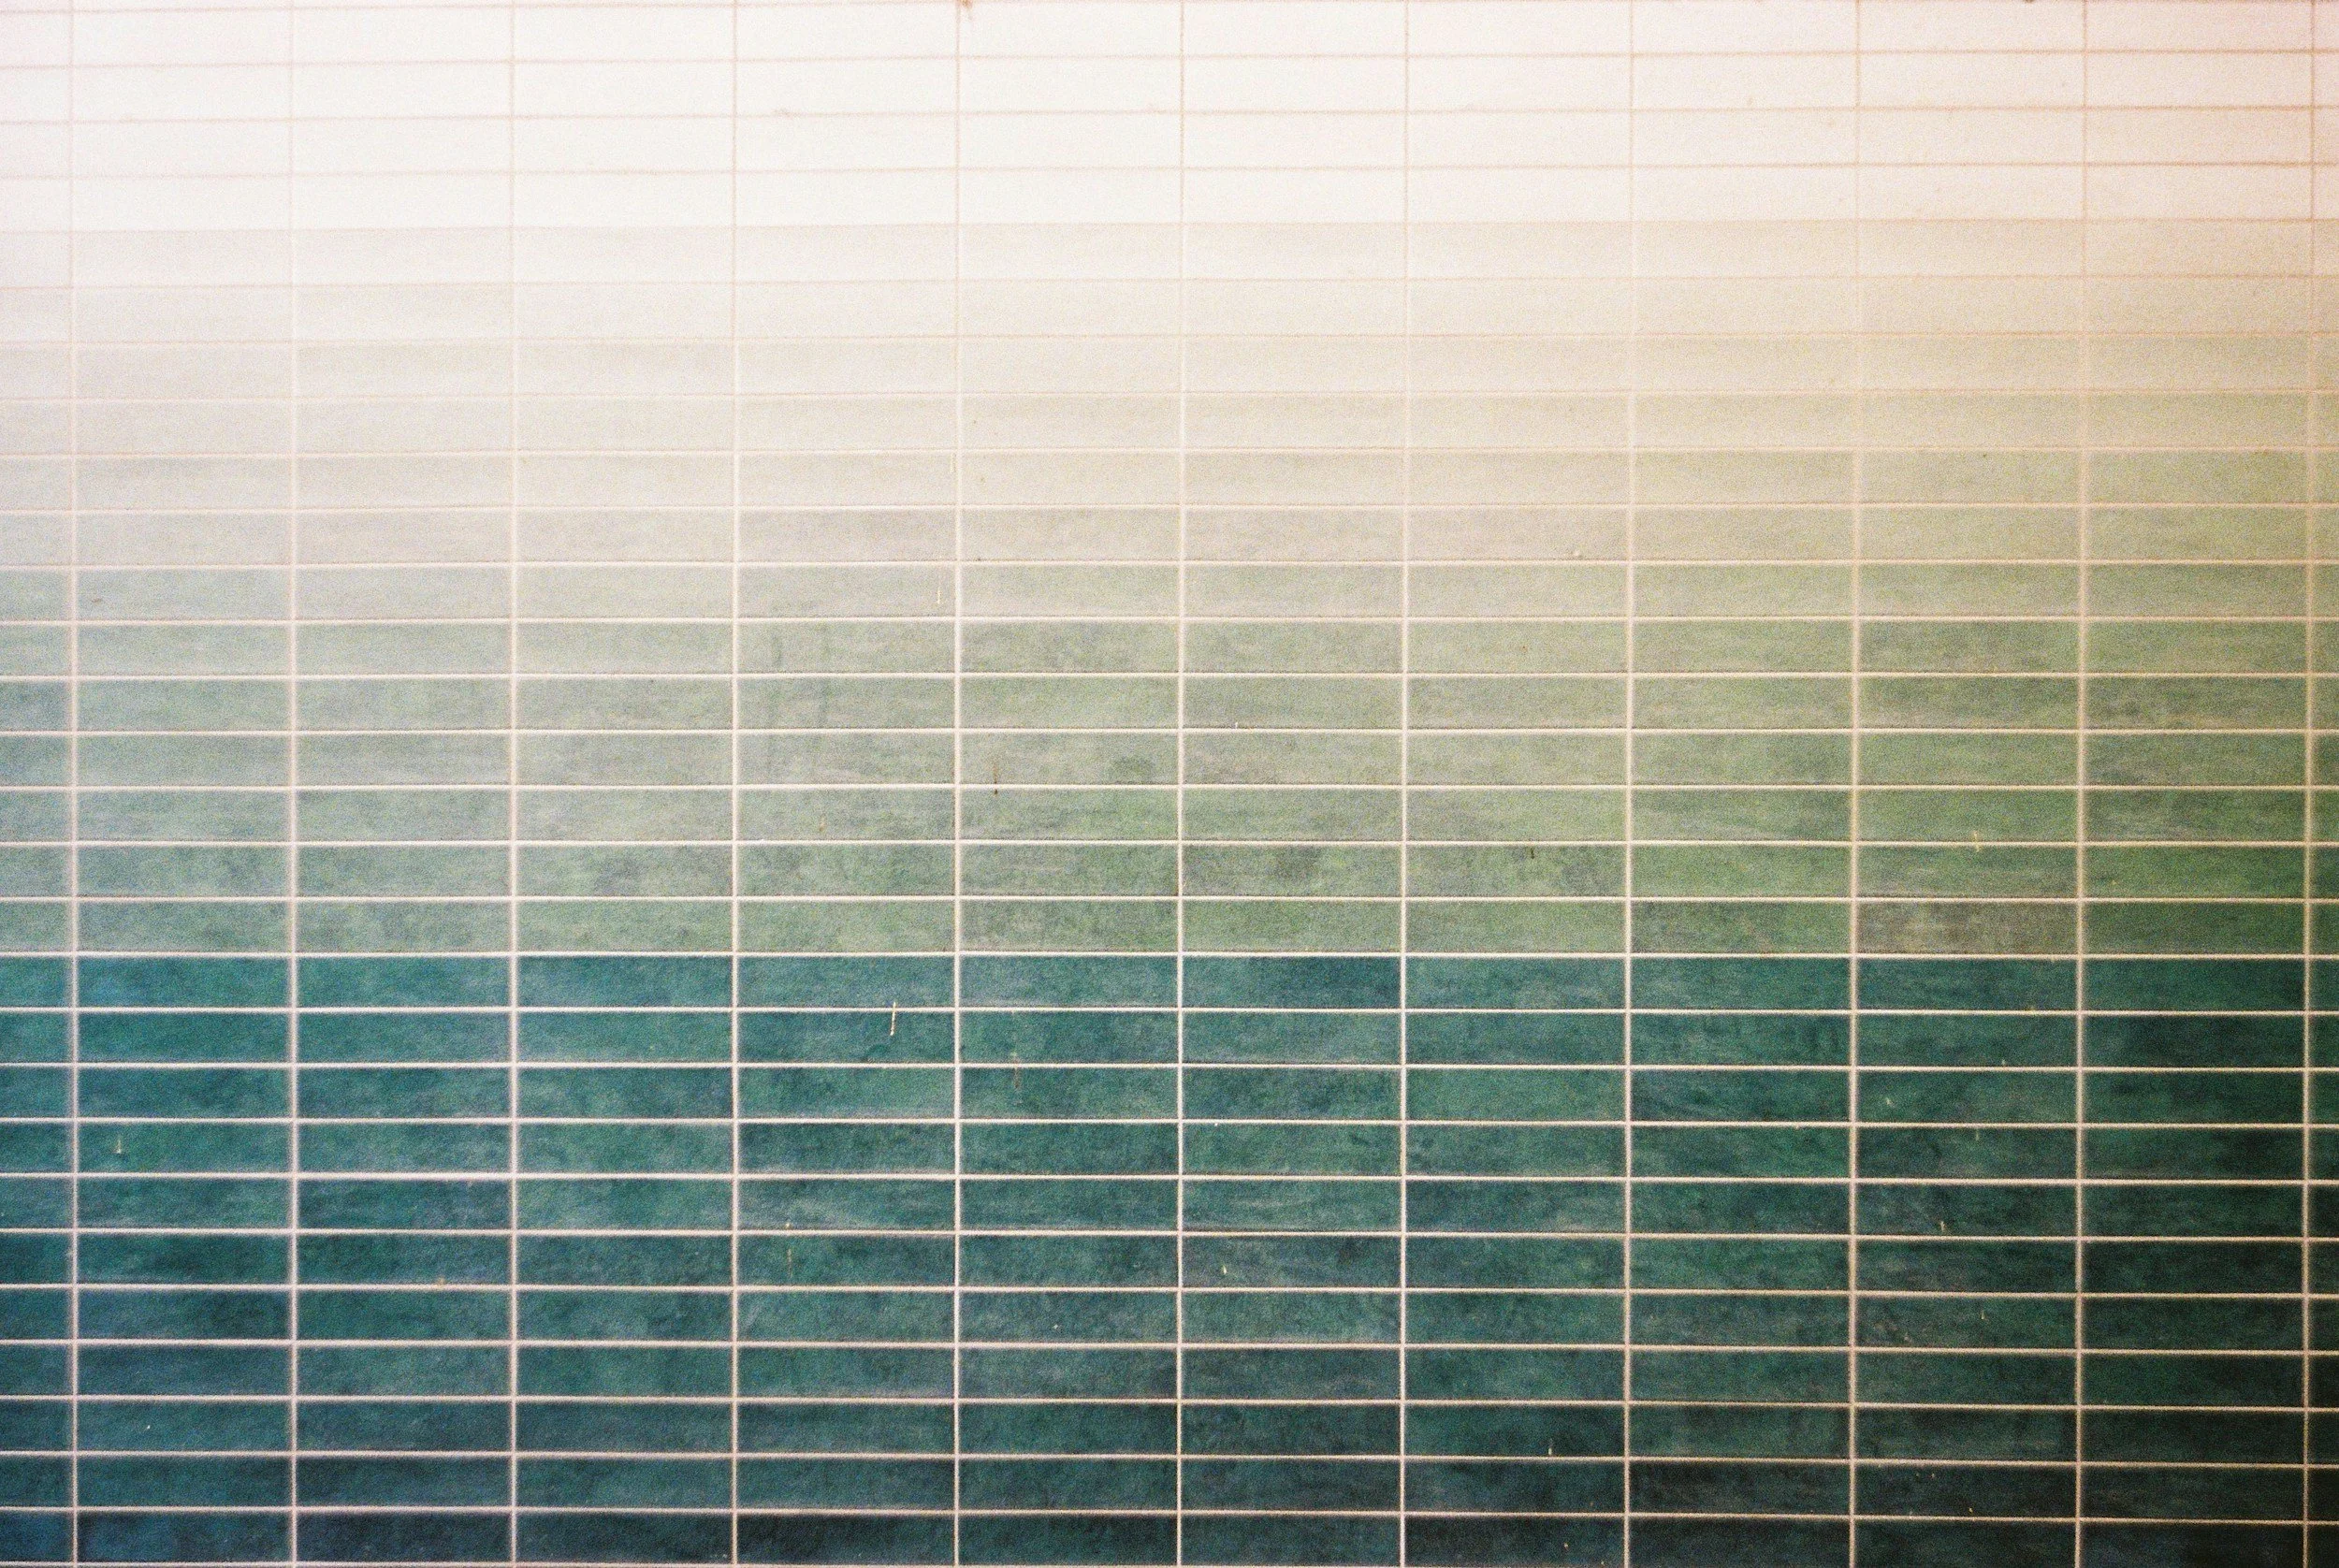
Tiles vs other splashback materials
Ceramic and porcelain tiles — from around $27–$40 per m² for materials. Huge range of styles, heat-proof, and you can replace a single damaged tile. Grout lines need sealing and the occasional clean.
Stainless steel — from around $270 per m². A commercial look and very hygienic, but it shows scratches and fingerprints.
Glass — from around $300 per m² (low-iron from around $400). Seamless and easy to wipe, but made to measure and hard to change later.
Acrylic — from around $430 per m². Seamless and lightweight, but can scratch and is less heat-tolerant.
These are material prices only — installation is extra and depends on size, cut-outs and wall preparation. Installed splashbacks commonly land in the $300–$1,300 range for an average kitchen.
Popular splashback tile styles in 2026
Subway tiles (75×150, 75×300) — timeless, and laid vertically or in herringbone they look current again
Handmade-look zellige tiles — soft colour variation and gloss
Large-format porcelain slabs — stone or marble look with almost no grout lines
Finger mosaics — slim vertical tiles that suit curved walls and modern kitchens
Deep greens and terracotta — colour is back, especially behind open shelving
What makes a splashback last
A flat, sound wall. Tiles show every bump. Old paint or uneven plasterboard should be prepared first.
The right adhesive and grout. Behind the cooktop, use heat-tolerant products; consider an epoxy or stain-resistant grout for easy cleaning.
Neat cut-outs. Power points, window reveals and rangehoods are where workmanship shows. Ask how your tiler handles edges — trims, mitred corners or bullnose tiles.
Silicone, not grout, at the benchtop. The joint where tile meets bench must be flexible or it will crack.
Planning the layout. A good tiler centres the pattern on the cooktop or window so you don't end up with slivers of tile at the edges.
How long does it take?
Most kitchen splashbacks are tiled in one to two days, plus grouting and curing time. Your kitchen can usually be used again the next day.
Thinking about a tiled splashback?
All About Tiles installs splashbacks across Wellington, the Hutt Valley, Kapiti and Wairarapa — from simple subway tiles to large-format porcelain and natural stone. Request a free on-site quote or see our full range of tiling services.
Prices are indicative NZ material costs for 2026; installed costs vary by kitchen.